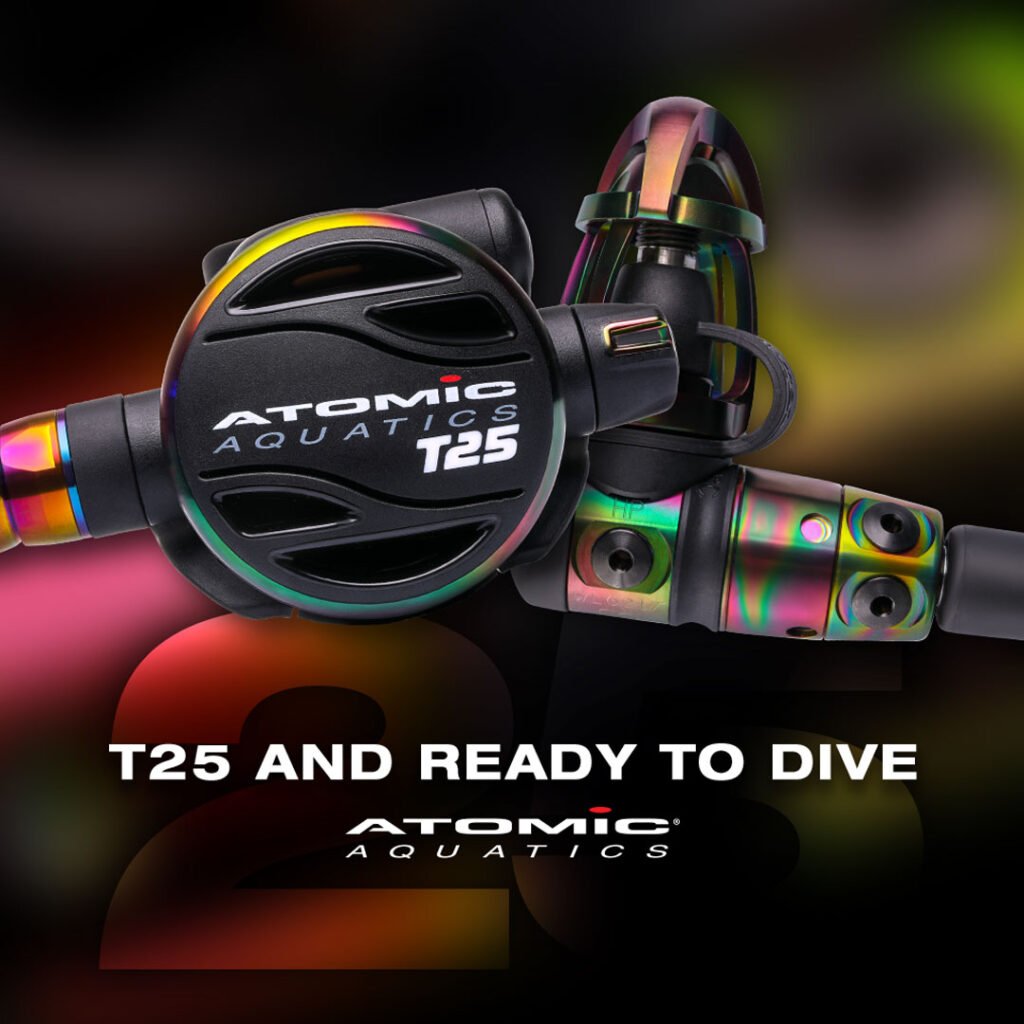
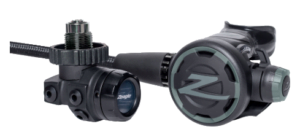
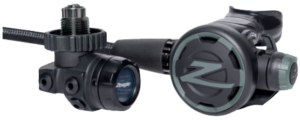
Oceanic Ventures has just received our first Atomic T25 Limited Edition Anniversary Air Delivery System (aka Regulator)! This is a very limited edition titanium regulator. We are very excited to have been selected to receive a unit out of the first build cycle of the T25’s.
What is so Special?
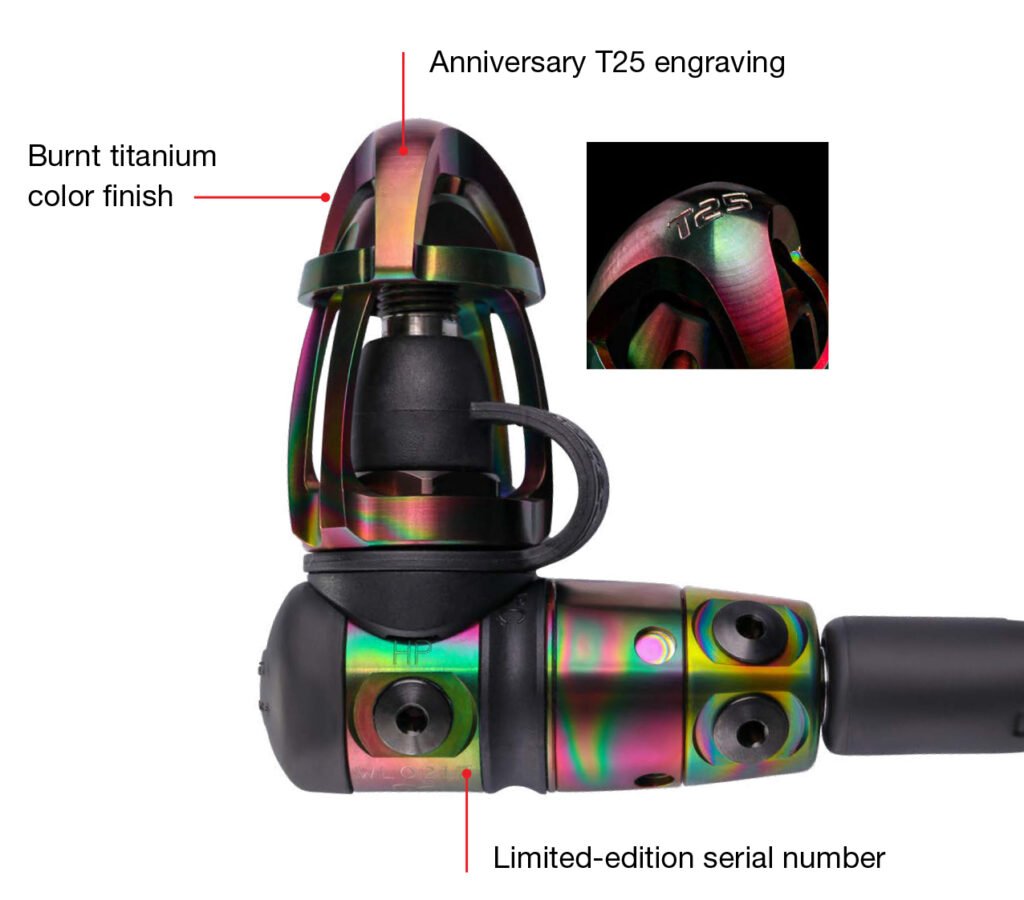
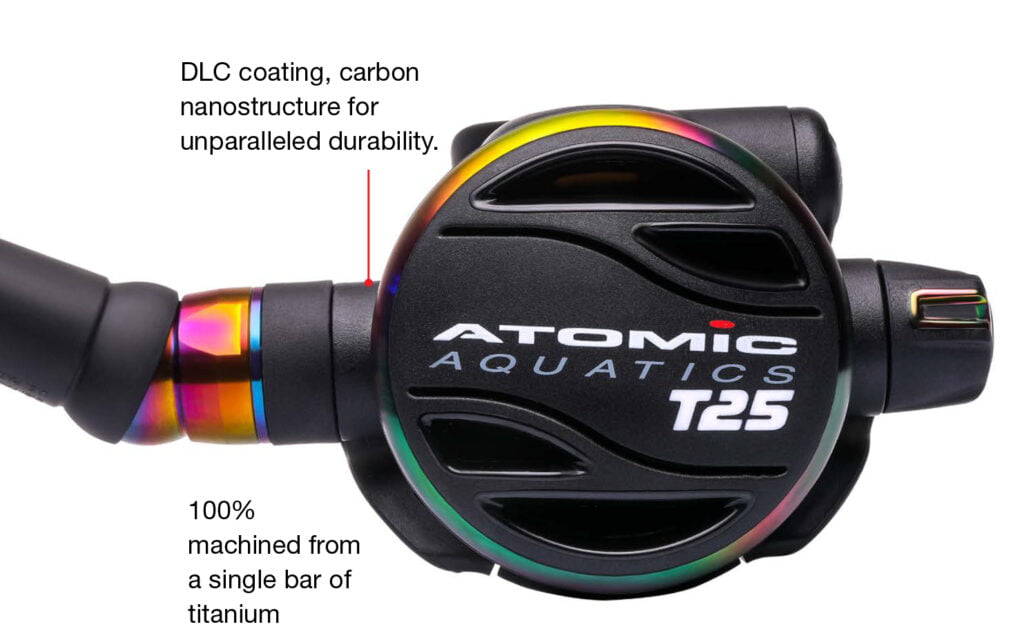
Representing 25 years of breakthroughs and breaking rules, the Atomic Aquatics T25 limited-edition anniversary regulator is a highly evolved version of the iconic T3 all titanium regulator. To achieve the T25’s unparalleled durability and performance, we started with solid bars of titanium alloy and precision machined them to our super-elite specs. But we didn’t stop there.
To achieve radical durability, we plated the T25’s machined body with a new, proprietary diamond-like hardness coating (DLC). The result is a “burnt titanium” that’s stunningly beautiful, ultra durable and 100% unique. In fact, with its rainbow-like burnt titanium finish, each T25 is highly exclusive—and no two regulators will share the same appearance.
How many have we received?
We have received one unit out of the first build batch. We are not sure how many more we will receive since this is a very limited edition unit and Atomic anticipates that the demand for the units will be high.
What is the cost?
The units are $2,799.00 which includes the T25 limited edition first and second stages as will as a special edition anniversary bag.
How may I purchase one?
The units are being sold on a first come, first serve basis. If you are interested in purchasing a unit, please call Dive Mom with your credit card and tell her you want one. We will charge you for the unit when it arrives. But remember, the distribution of these special units is very limited and we don’t know how many we will have available for purchase.

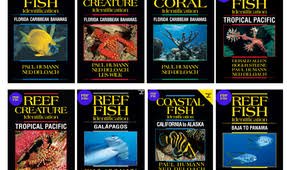
 Computers


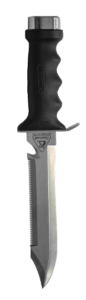 Knife
Knife
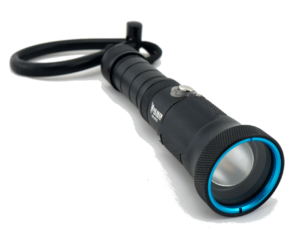 Dive Lights
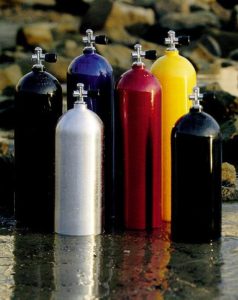 Diving Cylinders

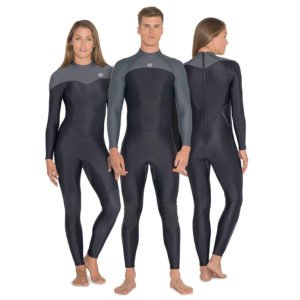
 Leave your Diving System with us for Annual Service in November
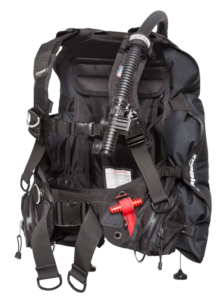
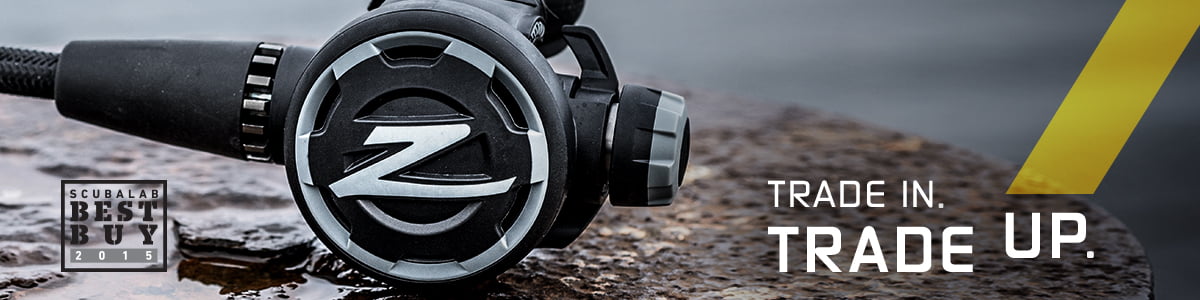 TRADE IN ANY DIVE AIR DELIVERY SYSTEM, WORKING OR NOT, AND RECEIVE A DISCOUNT TOWARDS A ZEAGLE F8
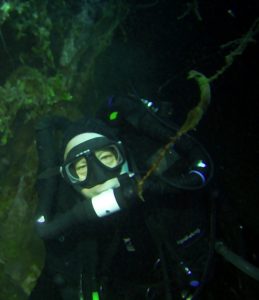


 With all of the rain and flooding in Houston from
  In talking with Nancy Burger, President of
  According to the Iowa State University
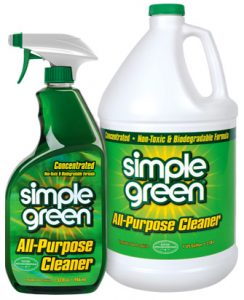 Option 2 Simple Green Cleaner: In a clean trash can, prepare a Simple Green Cleaner solution (using a 1:10 ratio) and use it to clean your equipment (Simple Green All-Purpose Cleaner can be used on any washable surface, from floors and walls to laundry stains. It removes the toughest stains including dirt, grease, oil, pet stains, coffee and juice stains, lipstick, blood, adhesives and much more.
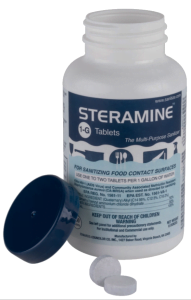
 After you get your equipment back from the service center, call Dive Mom or your local Dive Facility and book a trip; you need to relax and de-stress after all that cleaning!